Recent searches
Search options
#pyqt
I have been making progress with my color converter/creation application built with PyQt. I just added a 4 point gradient tool this morning. This application will allow you to create, convert and manage all your colors in one place.
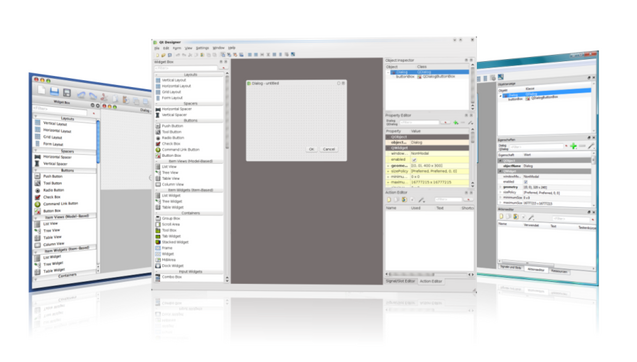
Primeros pasos con PyQt y QtDesigner. Primer programa con Python https://myblog.clonbg.es/primeros-pasos-con-pyqt-y-qtdesigner-primer-programa-con-python/ #Programación #Python #PyQT https://clonbg.es
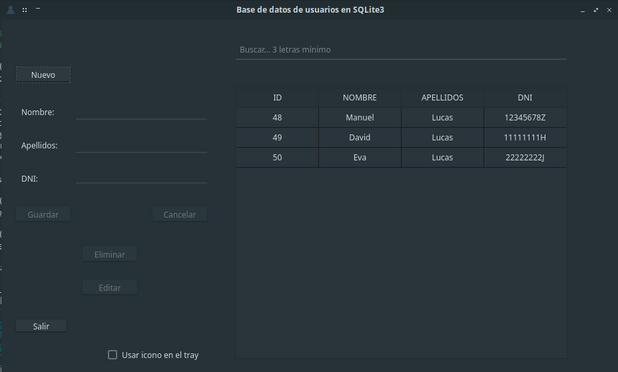
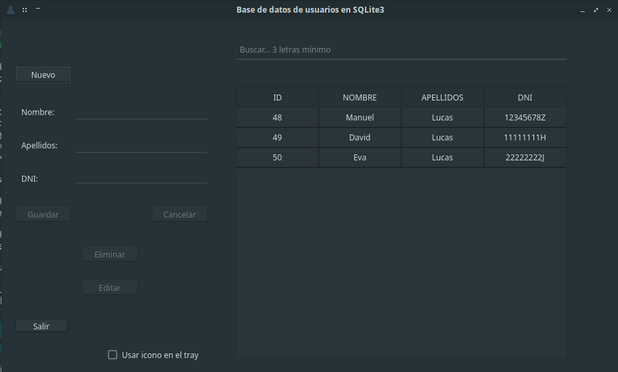
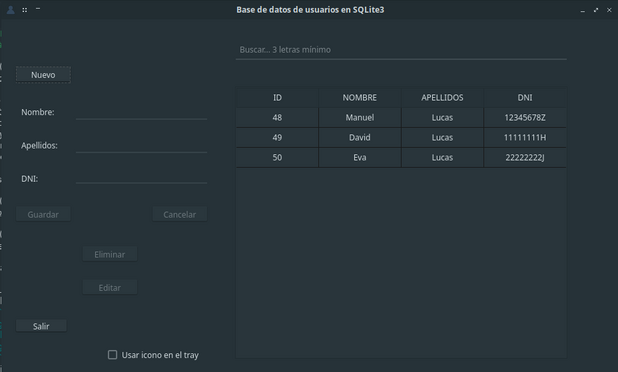
Mi primer CRUD con Python https://myblog.clonbg.es/mi-primer-crud-con-python/ #Programación #Python #PyQT https://clonbg.es
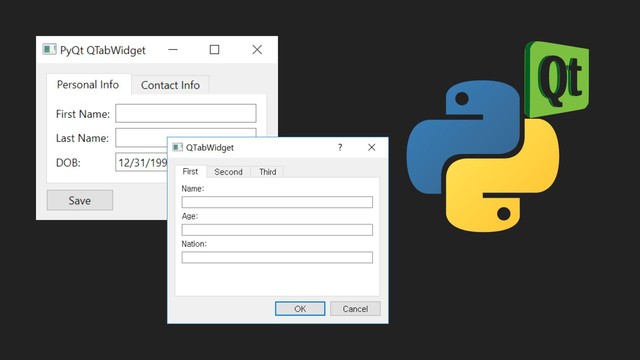
Once you start developing your PyQt application, as you add more features you can quickly run out of space for your widgets. This is where using a QTabWidget might be useful. A tab widget provides a tab bar and a "page area" that is used to display pages related to each tab.
https://doc.qt.io/qtforpython-5/PySide2/QtWidgets/QTabWidget.html
The #QScrollBar widget is a scroll bar that enables the user to access parts of a document that is larger than the widget used to display it.
https://doc.qt.io/qtforpython-5/PySide2/QtWidgets/QScrollBar.html
The #QScrollArea widget is used to display the contents of a child widget within a frame. If the widget exceeds the size of the frame, the view can provide scroll bars so that the entire area of the child widget can be viewed.
https://doc.qt.io/qtforpython-5/PySide2/QtWidgets/QScrollArea.html
Minimizar al tray un programa hecho en PyQt5 https://myblog.clonbg.es/minimizar-al-tray-un-programa-hecho-en-pyqt5/ #Programación #PyQT #Python https://clonbg.es
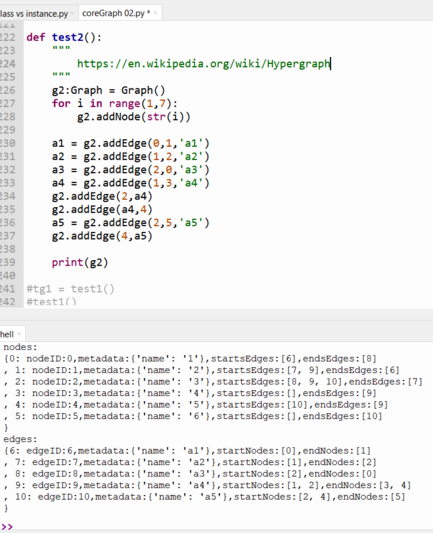
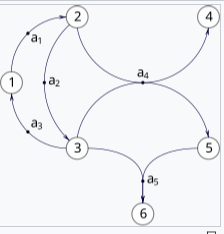
Achievement get: I have #Python code that can algebraically create #hypergraphs - graphs with n-ary edges.
Now to be able to do that in a graphical editor!
Trying to unravel #PyQt scenes!
Mi primer CRUD con Python https://myblog.clonbg.es/mi-primer-crud-con-python/ #Programación #Python #PyQT https://clonbg.es
A PyQt5 application to convert colors from one color format to various others.
Minimizar al tray un programa hecho en PyQt5 https://myblog.clonbg.es/minimizar-al-tray-un-programa-hecho-en-pyqt5/ #Programación #PyQT #Python https://clonbg.es
Primeros pasos con PyQt y QtDesigner. Primer programa con Python https://myblog.clonbg.es/primeros-pasos-con-pyqt-y-qtdesigner-primer-programa-con-python/ #Programación #Python #PyQT https://clonbg.es
Mi primer CRUD con Python https://myblog.clonbg.es/mi-primer-crud-con-python/ #Programación #Python #PyQT https://clonbg.es
Minimizar al tray un programa hecho en PyQt5 https://myblog.clonbg.es/minimizar-al-tray-un-programa-hecho-en-pyqt5/ #Programación #PyQT #Python https://clonbg.es
Primeros pasos con PyQt y QtDesigner. Primer programa con Python https://myblog.clonbg.es/primeros-pasos-con-pyqt-y-qtdesigner-primer-programa-con-python/ #Programación #Python #PyQT https://clonbg.es
The PyQt pen join style defines how joins between two connected lines are shown.
1. The BevelJoin style fills the triangular notch between the two lines.
2. The MiterJoin style extends the lines to meet at an angle.
3. The RoundJoin style fills a circular arc between the two lines.
https://doc.qt.io/qtforpython-5/PySide2/QtGui/QPen.html#join-style
PyQt pen has cap styles that define how the end points of the lines are drawn.
1. The SquareCap (default) style is a square line end that covers the end point and extends beyond it by half the line width.
2. The FlatCap style is a square line end that does not cover the end point of the line.
3. The RoundCap style is a rounded line end covering the end point.
https://doc.qt.io/qtforpython-5/PySide2/QtGui/QPen.html#cap-style
PyQt provides several built-in pen styles.
1. SolidLine
2. DashLine
3. DotLine
4. DashDotLine
5. DashDotDotLine
6. CustomDashLine
https://doc.qt.io/qtforpython-5/PySide2/QtGui/QPen.html#pen-style

